 |
 |
 |
|
< < Back to Outfitting
Photo Essay of C-1 Outfitting For plastic boats using "O" or "D" rings can be a great way to outfit your boat. Materials:
-2" webbing from EMS
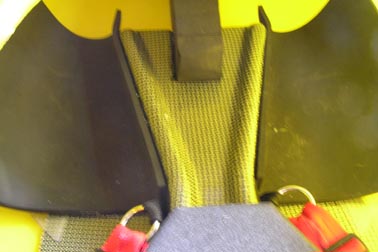
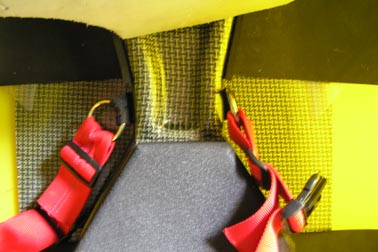
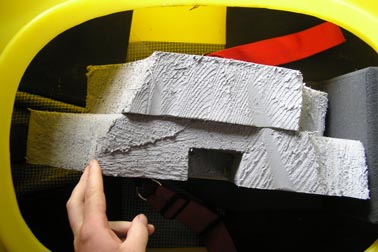
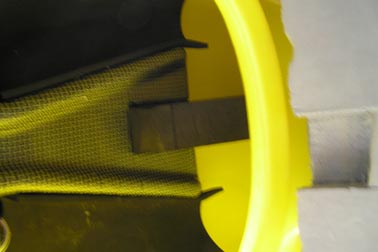
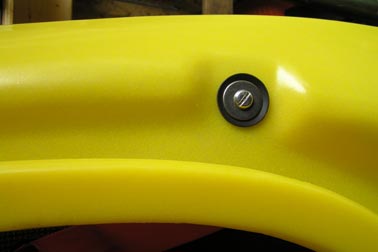
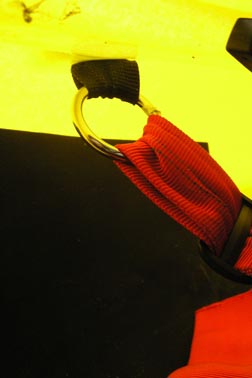
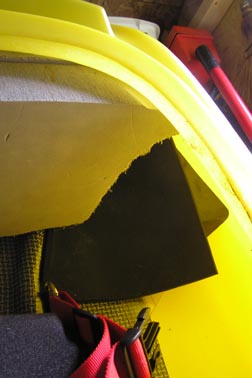
Specific to the Wheelboy: I attached the upper half of the strap to the "flat spot" near the rear of the cockpit rim that fits a washer (stainless steel over rubber) rather nicely. In general look for a spot on the top / side of the boat near your hips (not in front of, unless you plan on re-using a kayak seat attachment point (which is a great way to go as the boat has been built in mind with that being a bolt-on point stress-wise)). I like two separate points for the strap attachment (if I ever blow one out (yes, it HAS happened.) I can just attach it to the other side and take it easy.but at least I can finish the trip (my "normal" trip is a 17 mile wilderness trip.so if you're just park and play it's a bit of a different story:) ). I've also added a front bulkhead that keeps my knees from moving around too much. It's press-fit, so I can take it out to access the bow for a water bottle, let larger paddlers try the boat, etc.... A few images:
Seat view, no Bulkhead. Center Rings, Bulkhead in (yes, it's crooked)
Bulkhead shape (note notch for front pilar wall). Fit of Bulkhead
Back ring attachment (in flat spot in Wheelboy), Internal rear ring, another bulkhead shot. Bulkhead fit |
|
|
CBoats.net is managed by Adam Pearsall and Kenneth Sarzynski
with graphic artwork by Sara Pearsall
© 2025 by CBoats.net - all rights reserved. Materials found on this website can only be used for personal use. |

